Overview
Step 1: Create multi-shot example and HTML template
Structured rendering of HTML templates depends on the LLM Explorer application, and it must be installed to follow this tutorial.
- Navigate to LLM Explorer -> Chat using the main menu
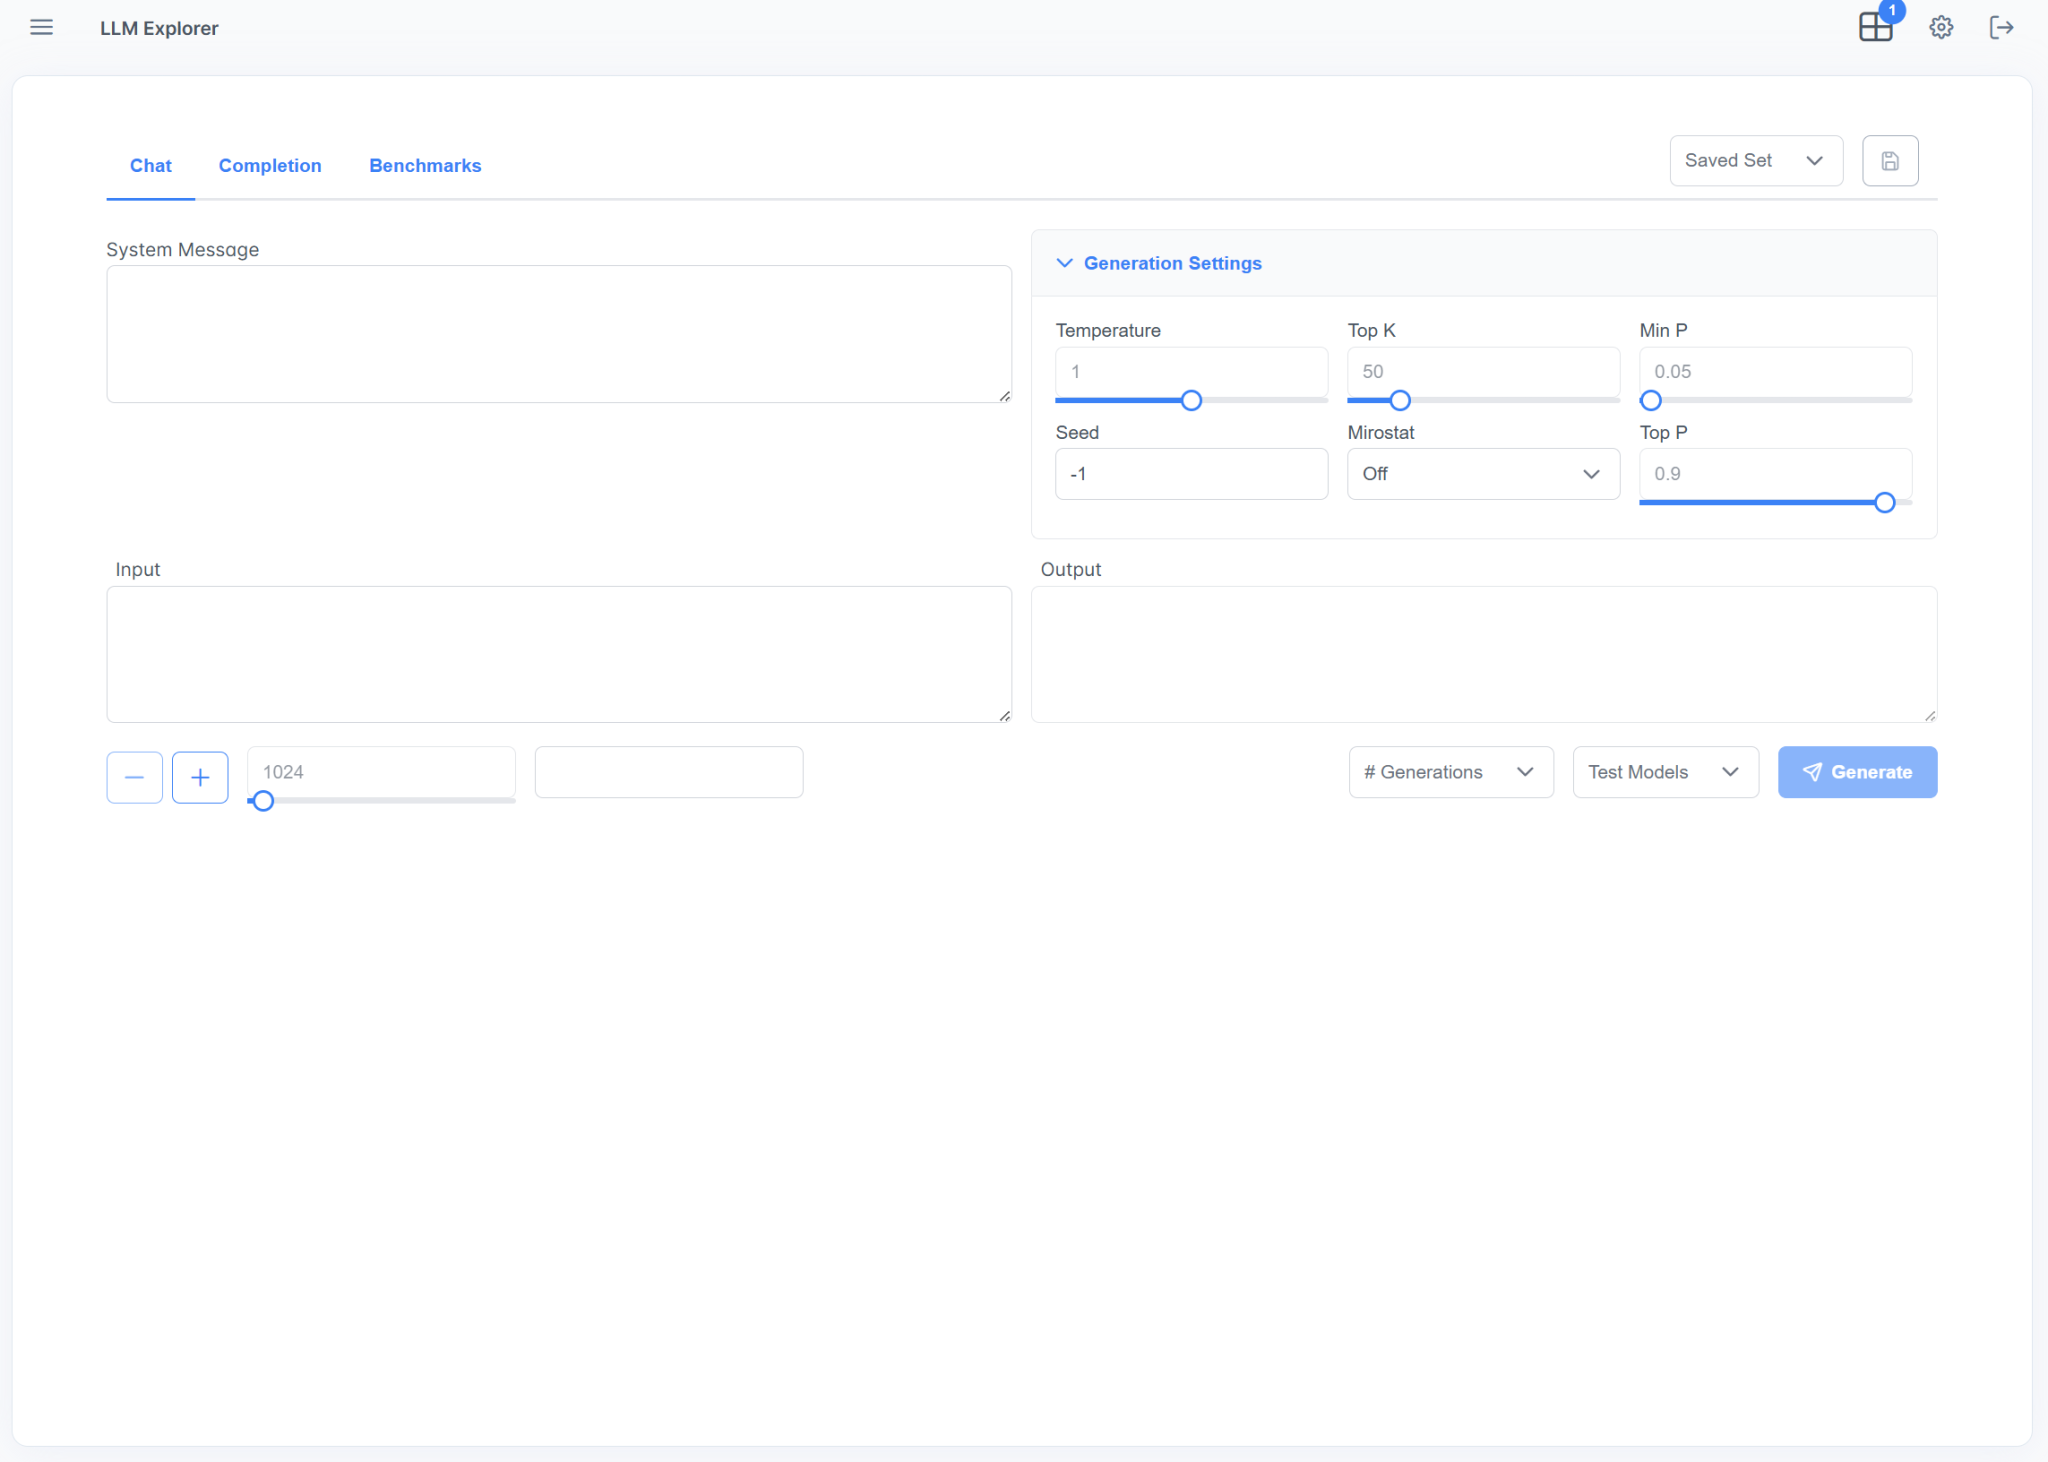
- Enter a System Message that matches the task
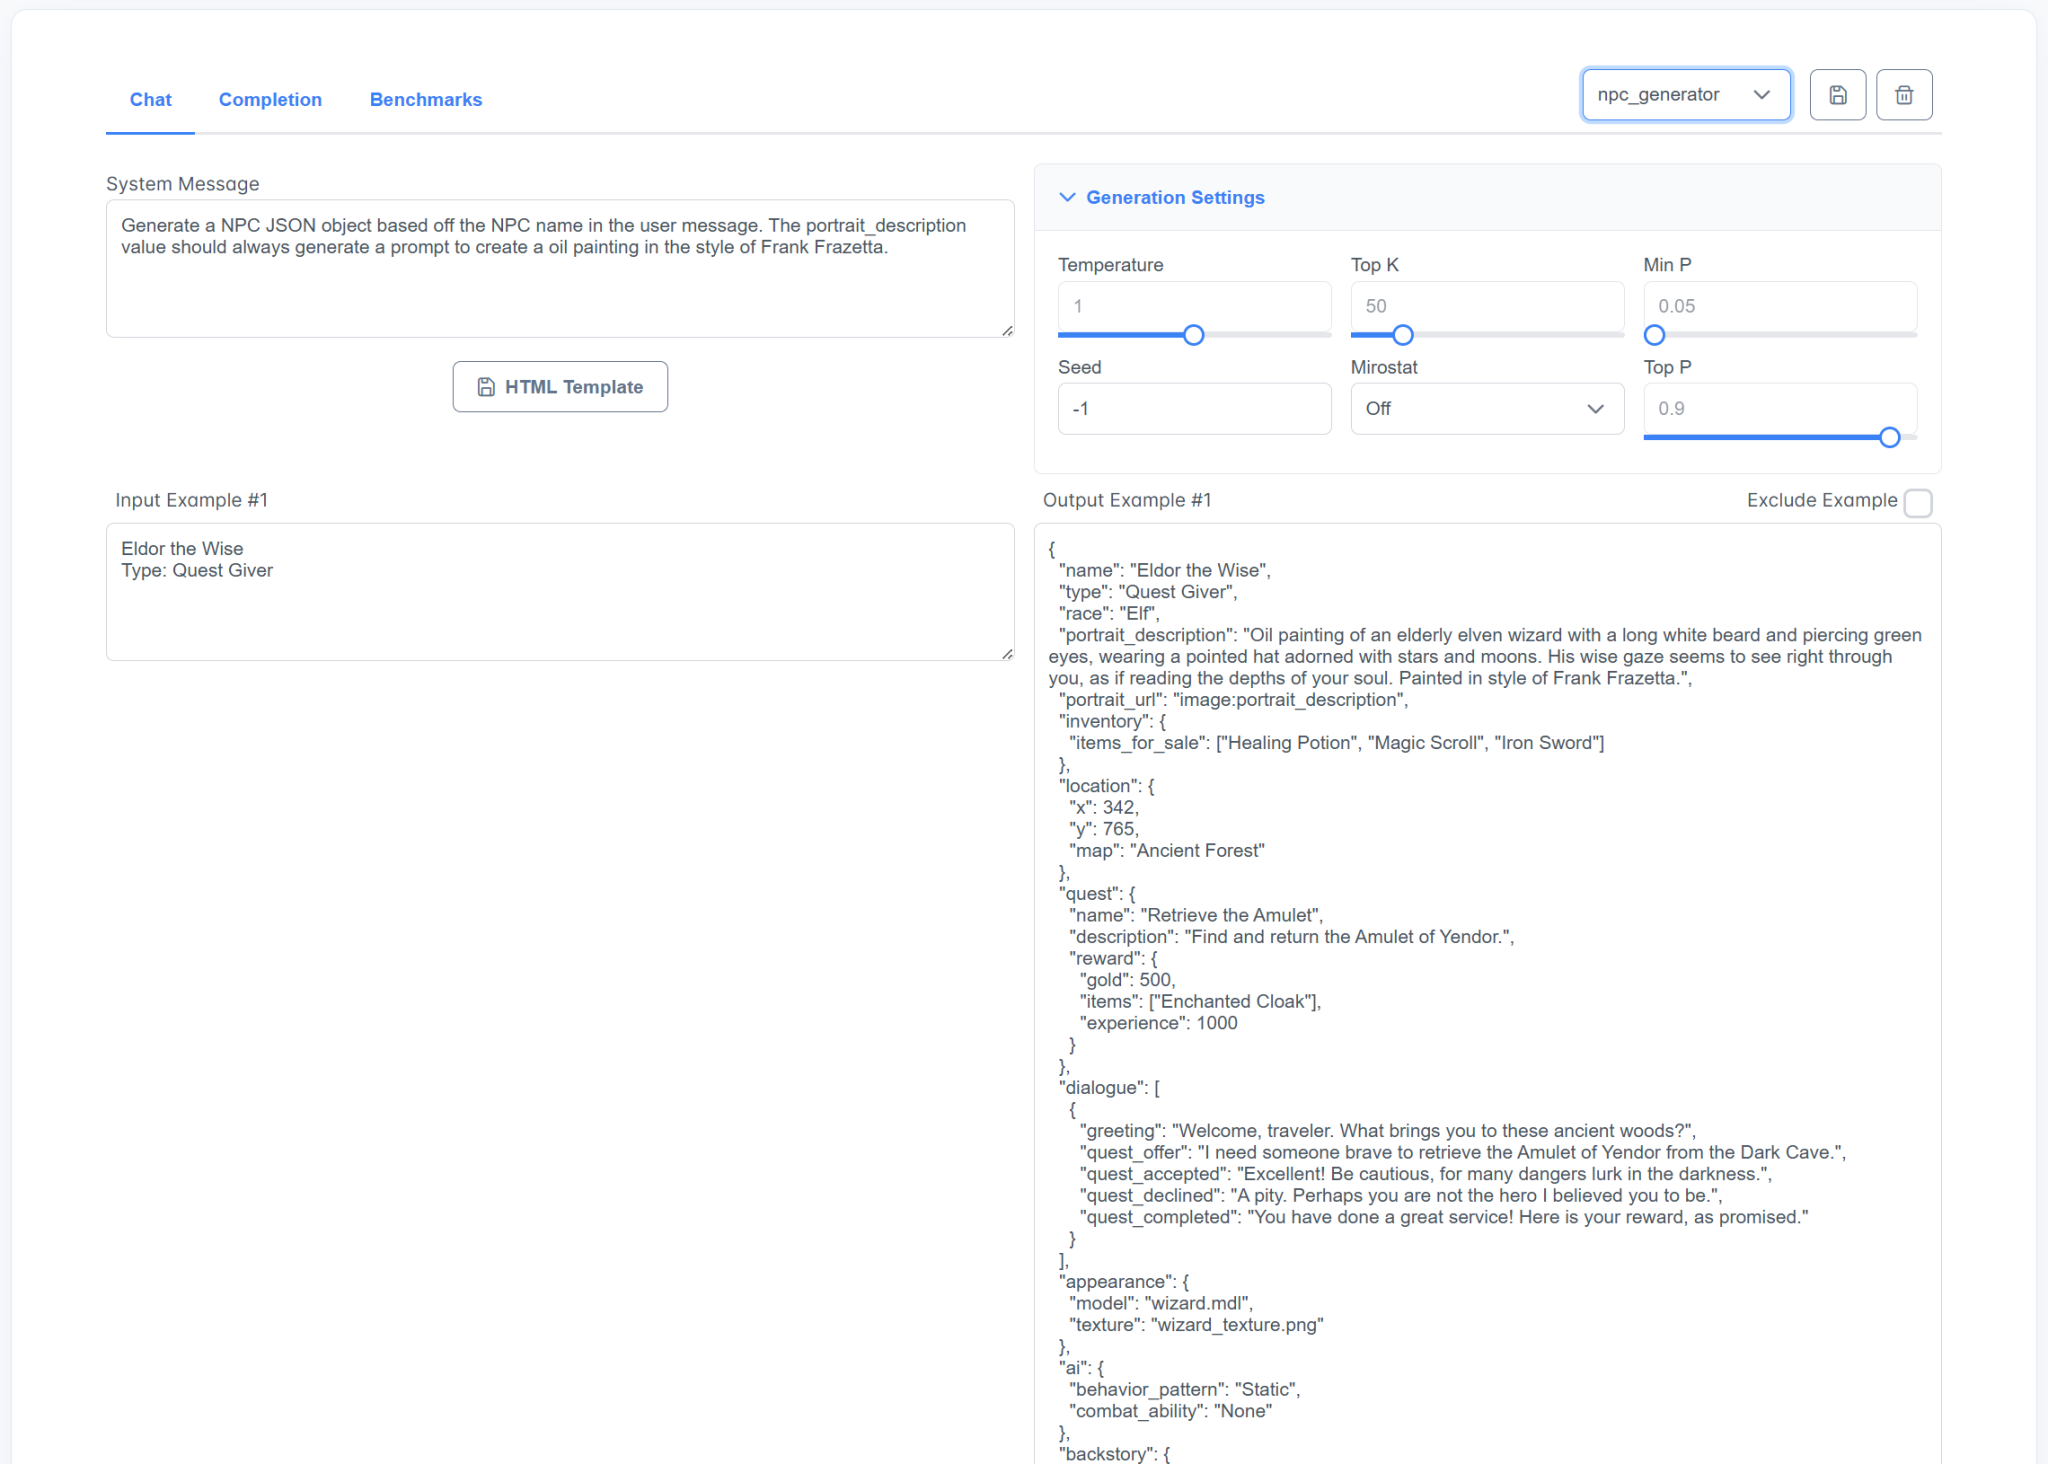
- Supply one or more examples of the prompt and matching JSON you want the model to respond with
- Press the Disk icon in the upper right-hand corner of the screen, give the example set a name and press Save
- Press the HTML Template button to edit the template for the JSON
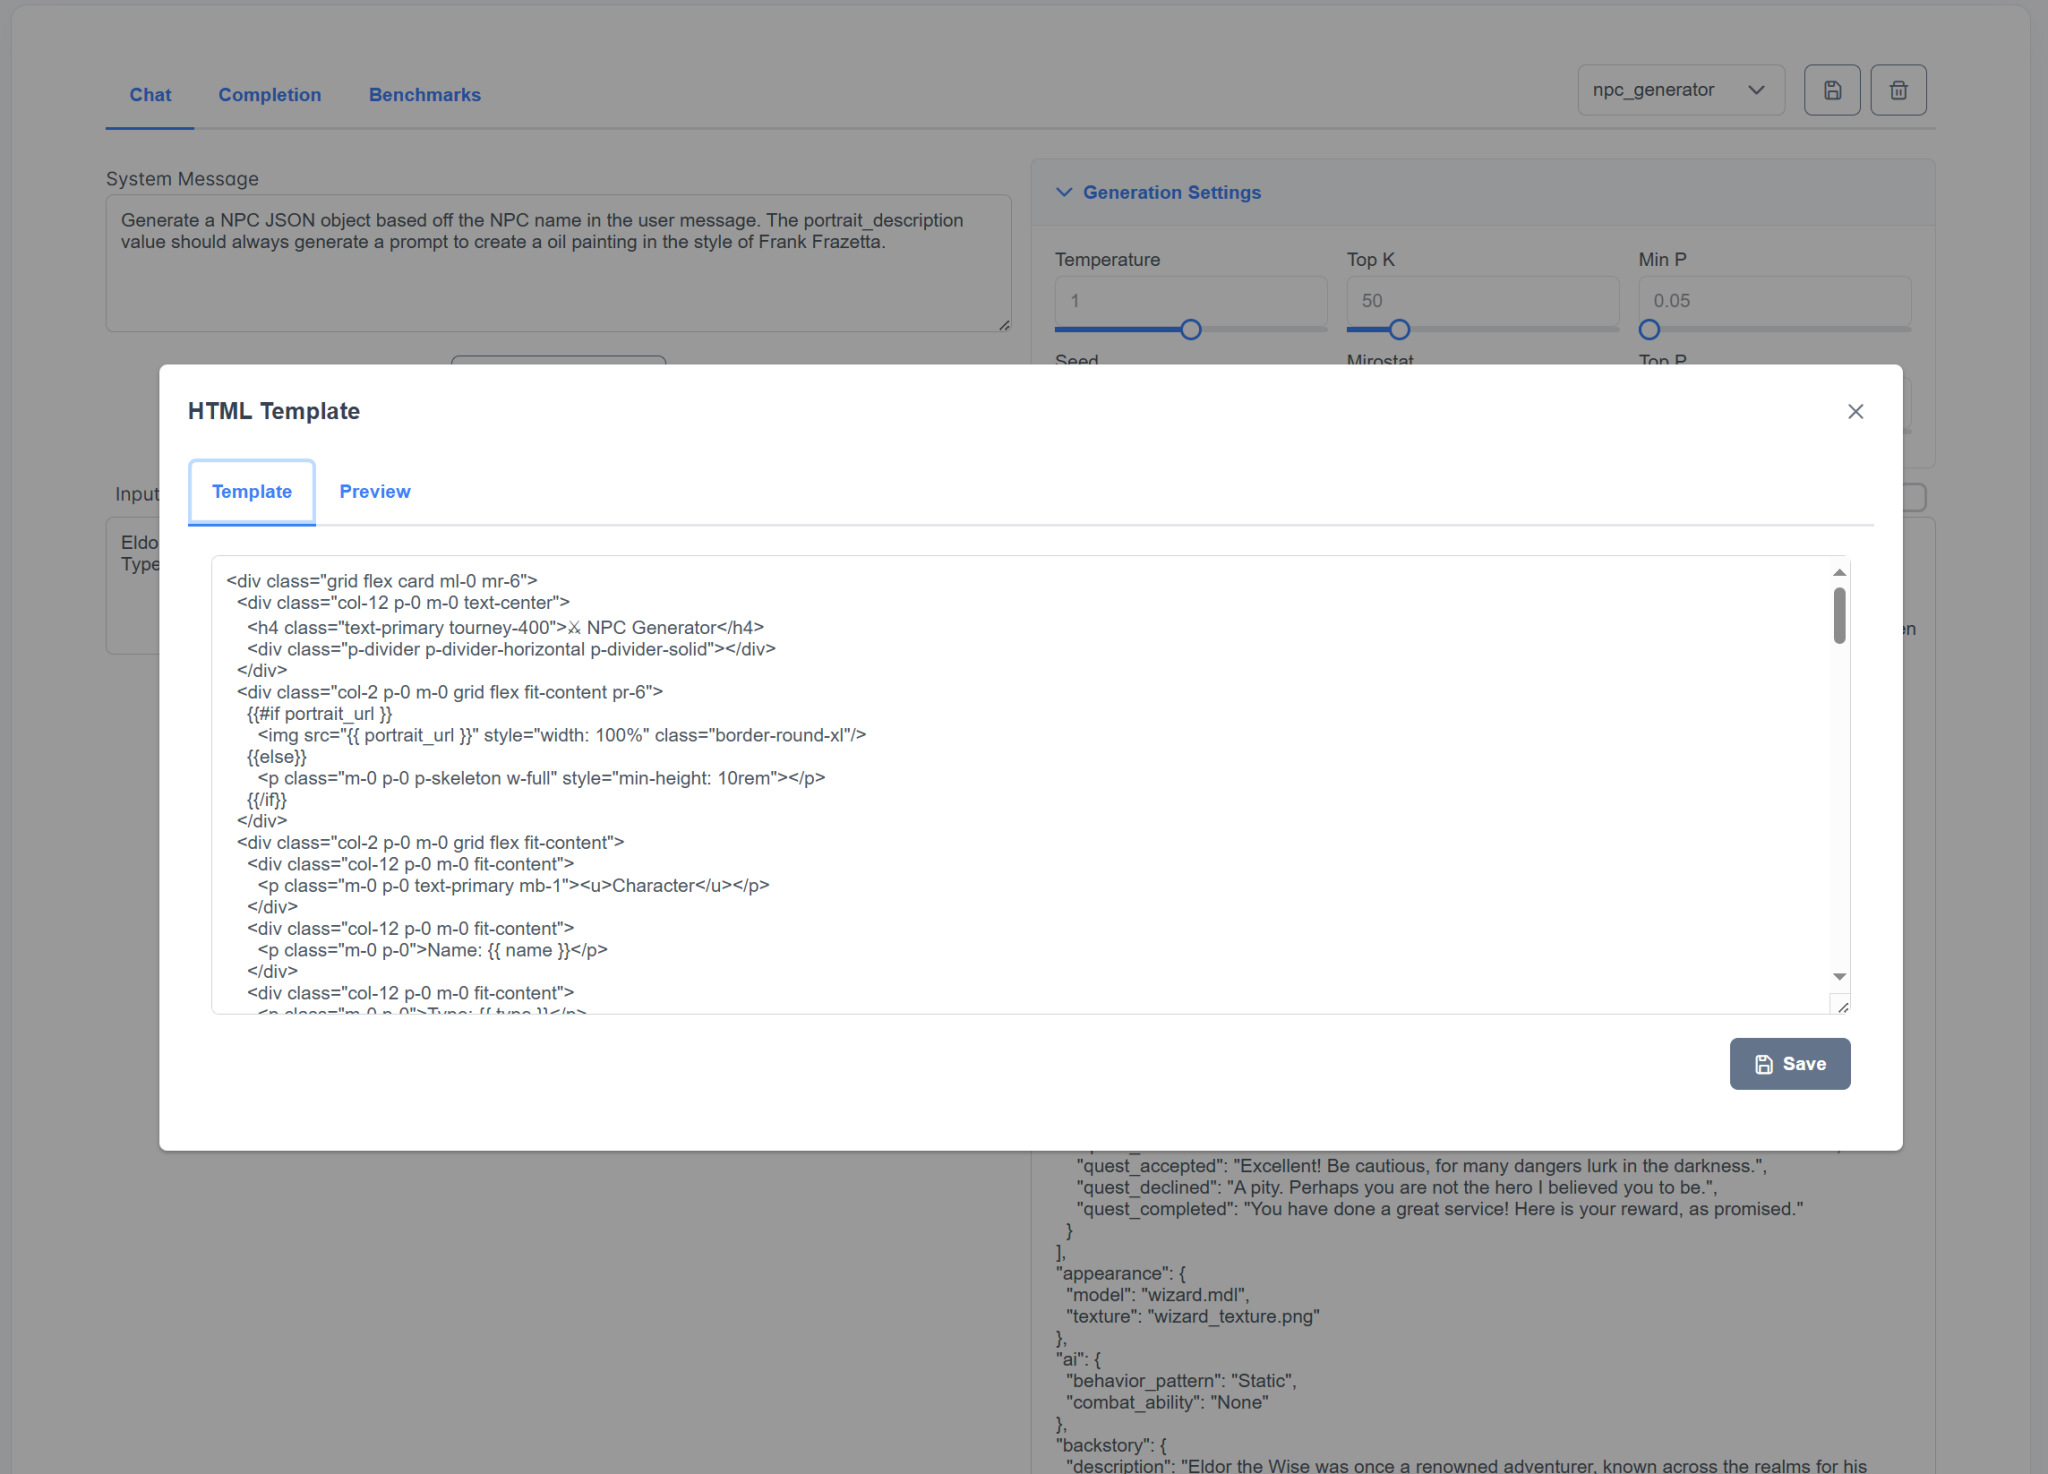
- Input the HTML template using Handlebars formatting
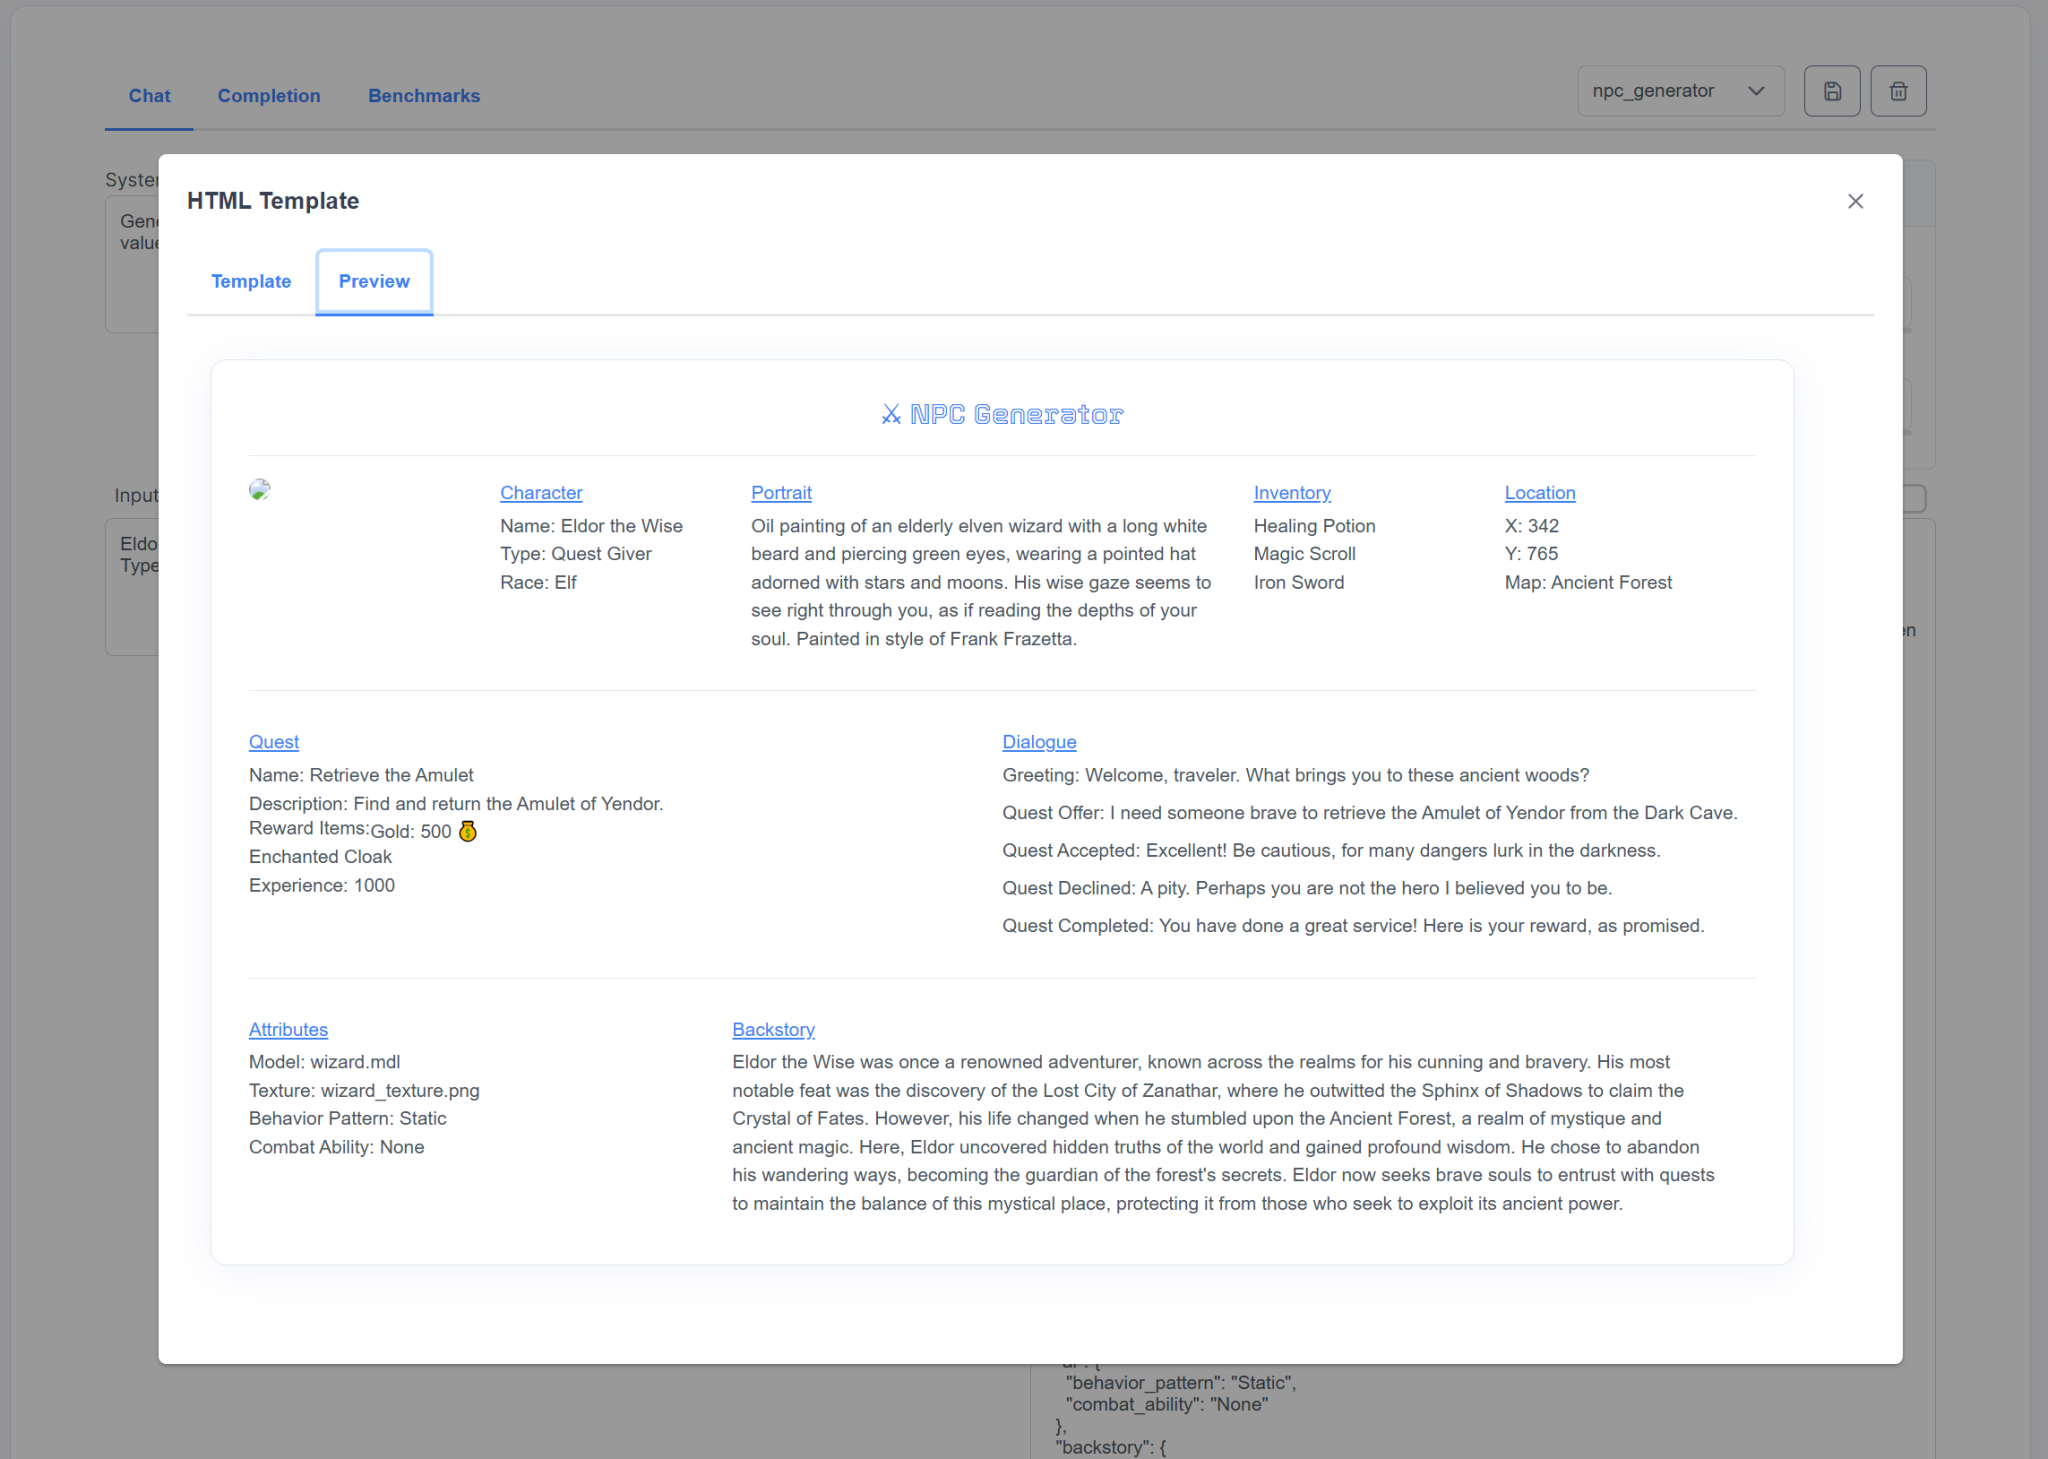
- Use the Preview tab until the results look how you want
- Press the Save button
Step 2: Create Dynamic Ability
The first step is to create the dynamic ability in the AI Routing area. The last two steps are only necessary if configuring a new dynamic ability security group.
- Navigate to AI Routing with the main menu
- Click the Add Ability button to the upper right of the Dynamic Abilities list.
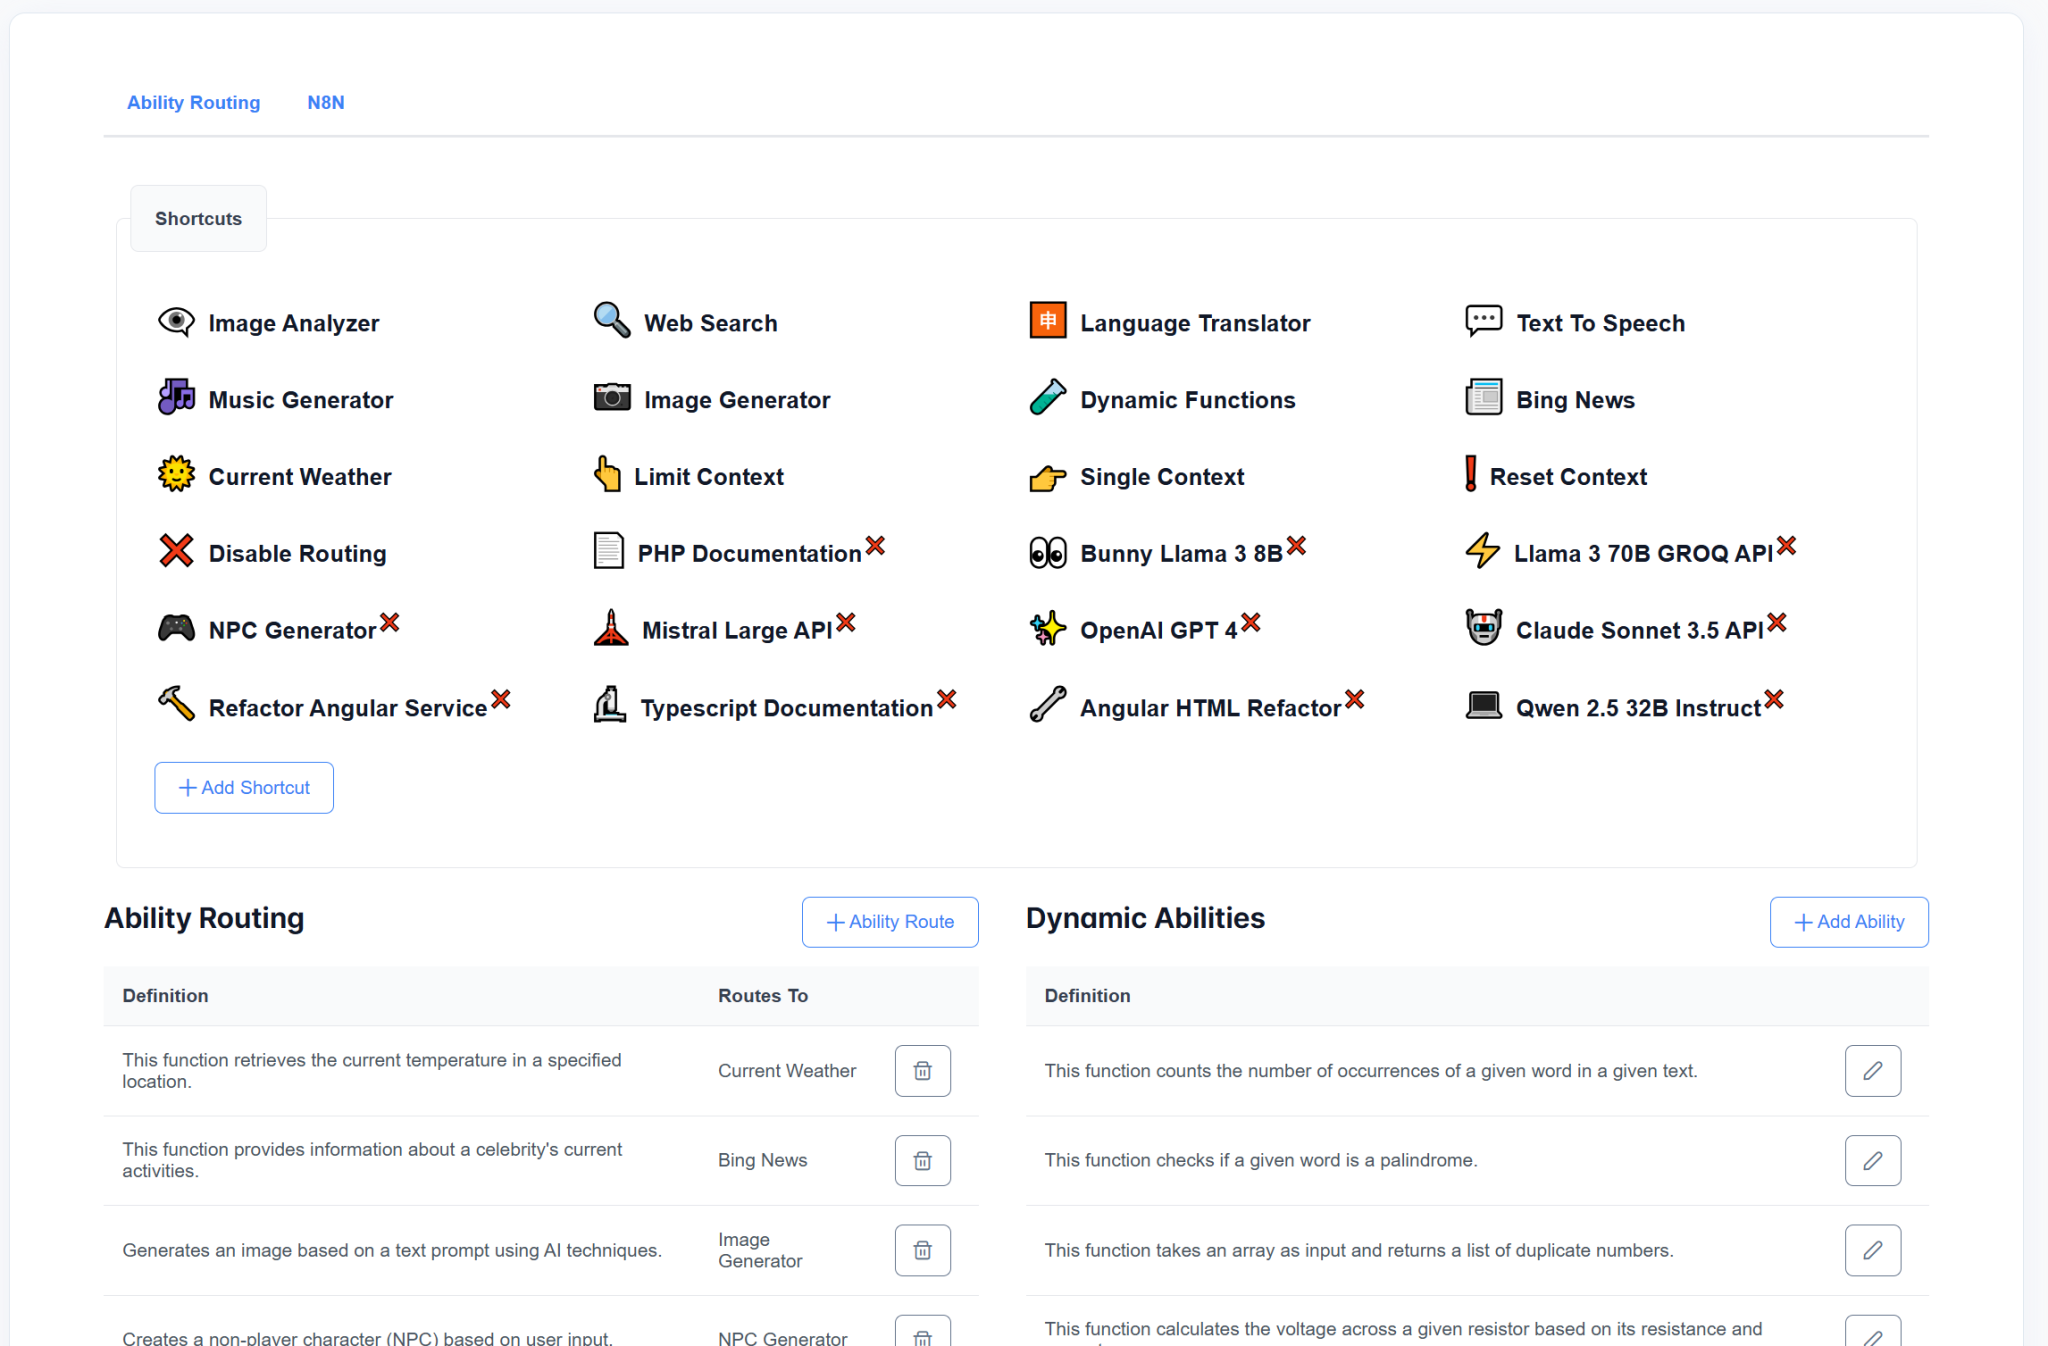
- Enter an example prompt that you would want to trigger the dynamic ability in this example we enter “Generate an NPC with name Mad Max“
- Click the Create button
- Navigate to newly created dynamic ability
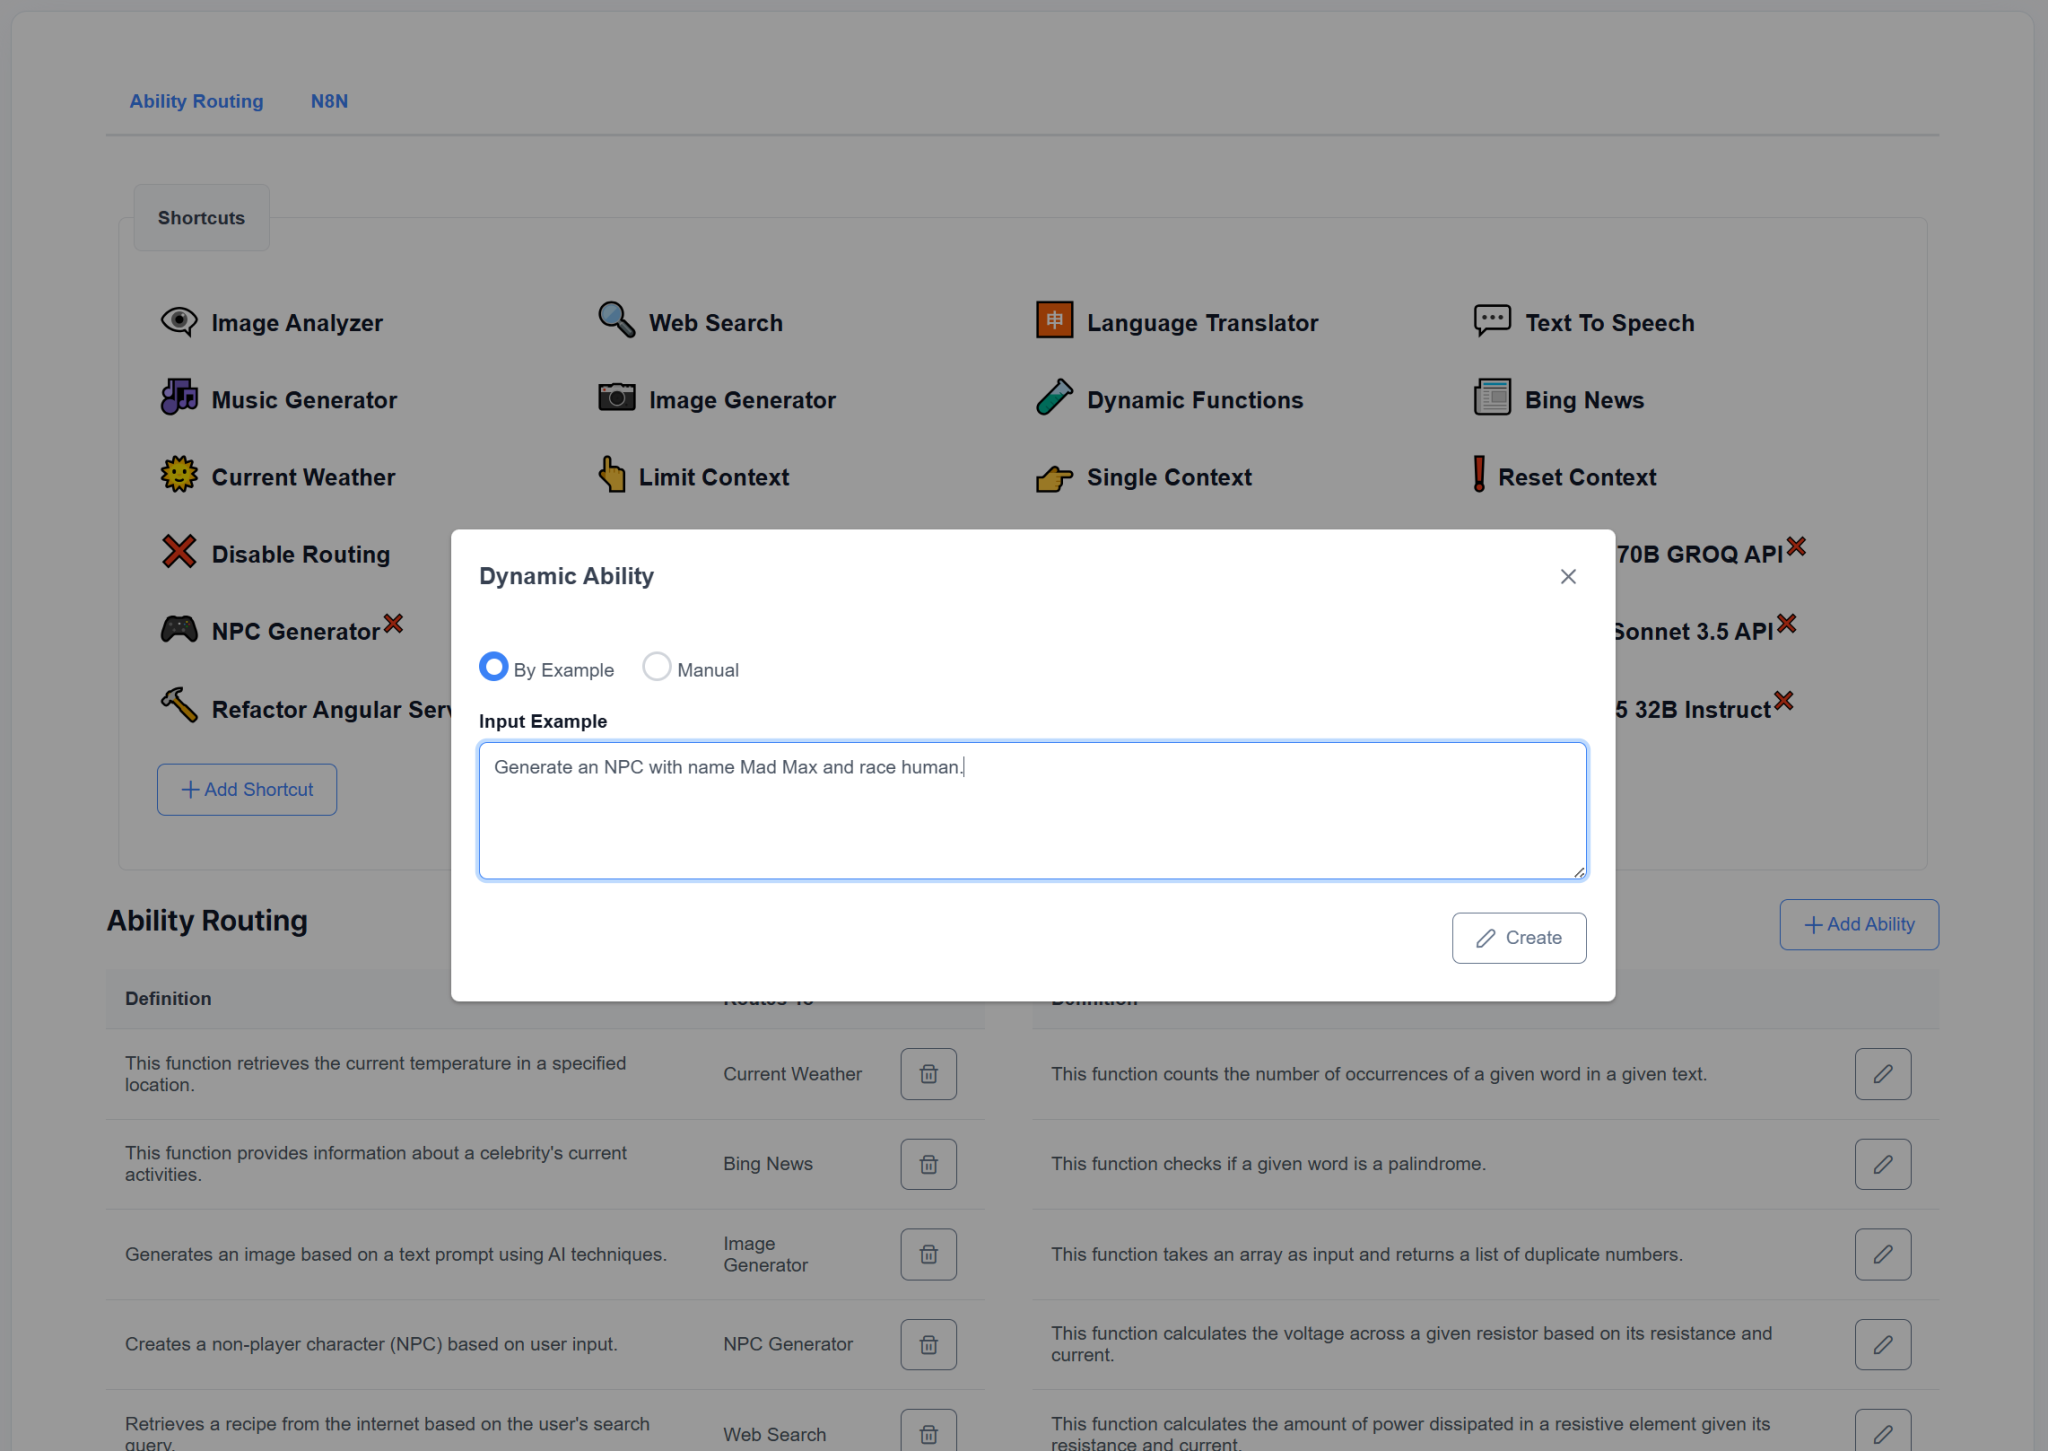
- Change Ability Type to Formatted Response
- Give the dynamic AI Ability a name
- Assign the AI ability a tag, this is needed to make the AI ability assignable to an AI agent
- Select the formatted response npc_generator we created in the last step
- Press the Save button
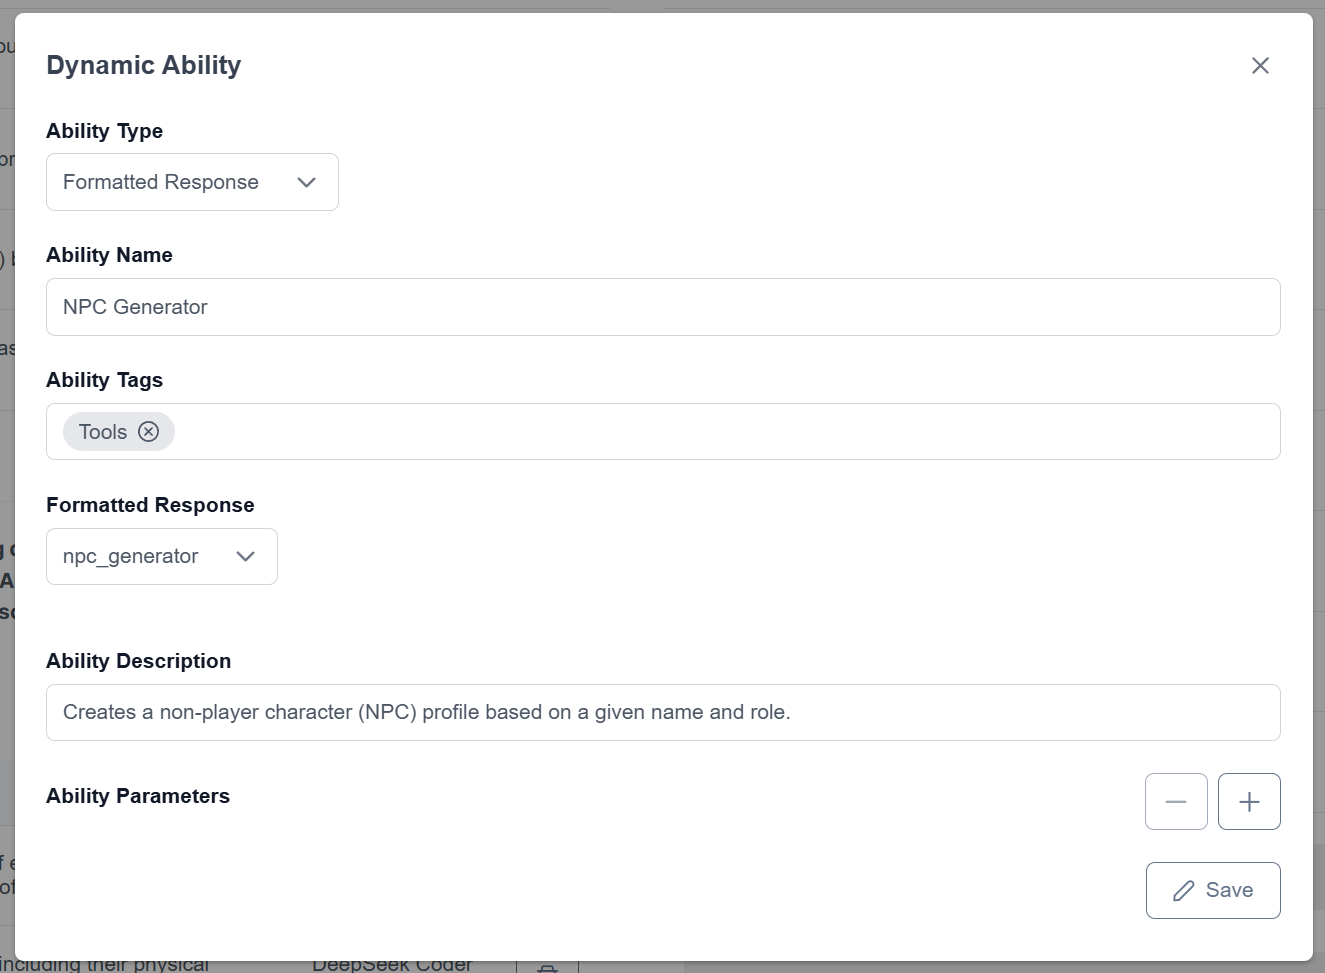
- Navigate to User Accounts -> User Groups
- Edit user group you want to have access to the dynamic ability
- Scroll down to the Custom Agent Abilities
- Grant access to the Dynamic – *TAG* for custom agents
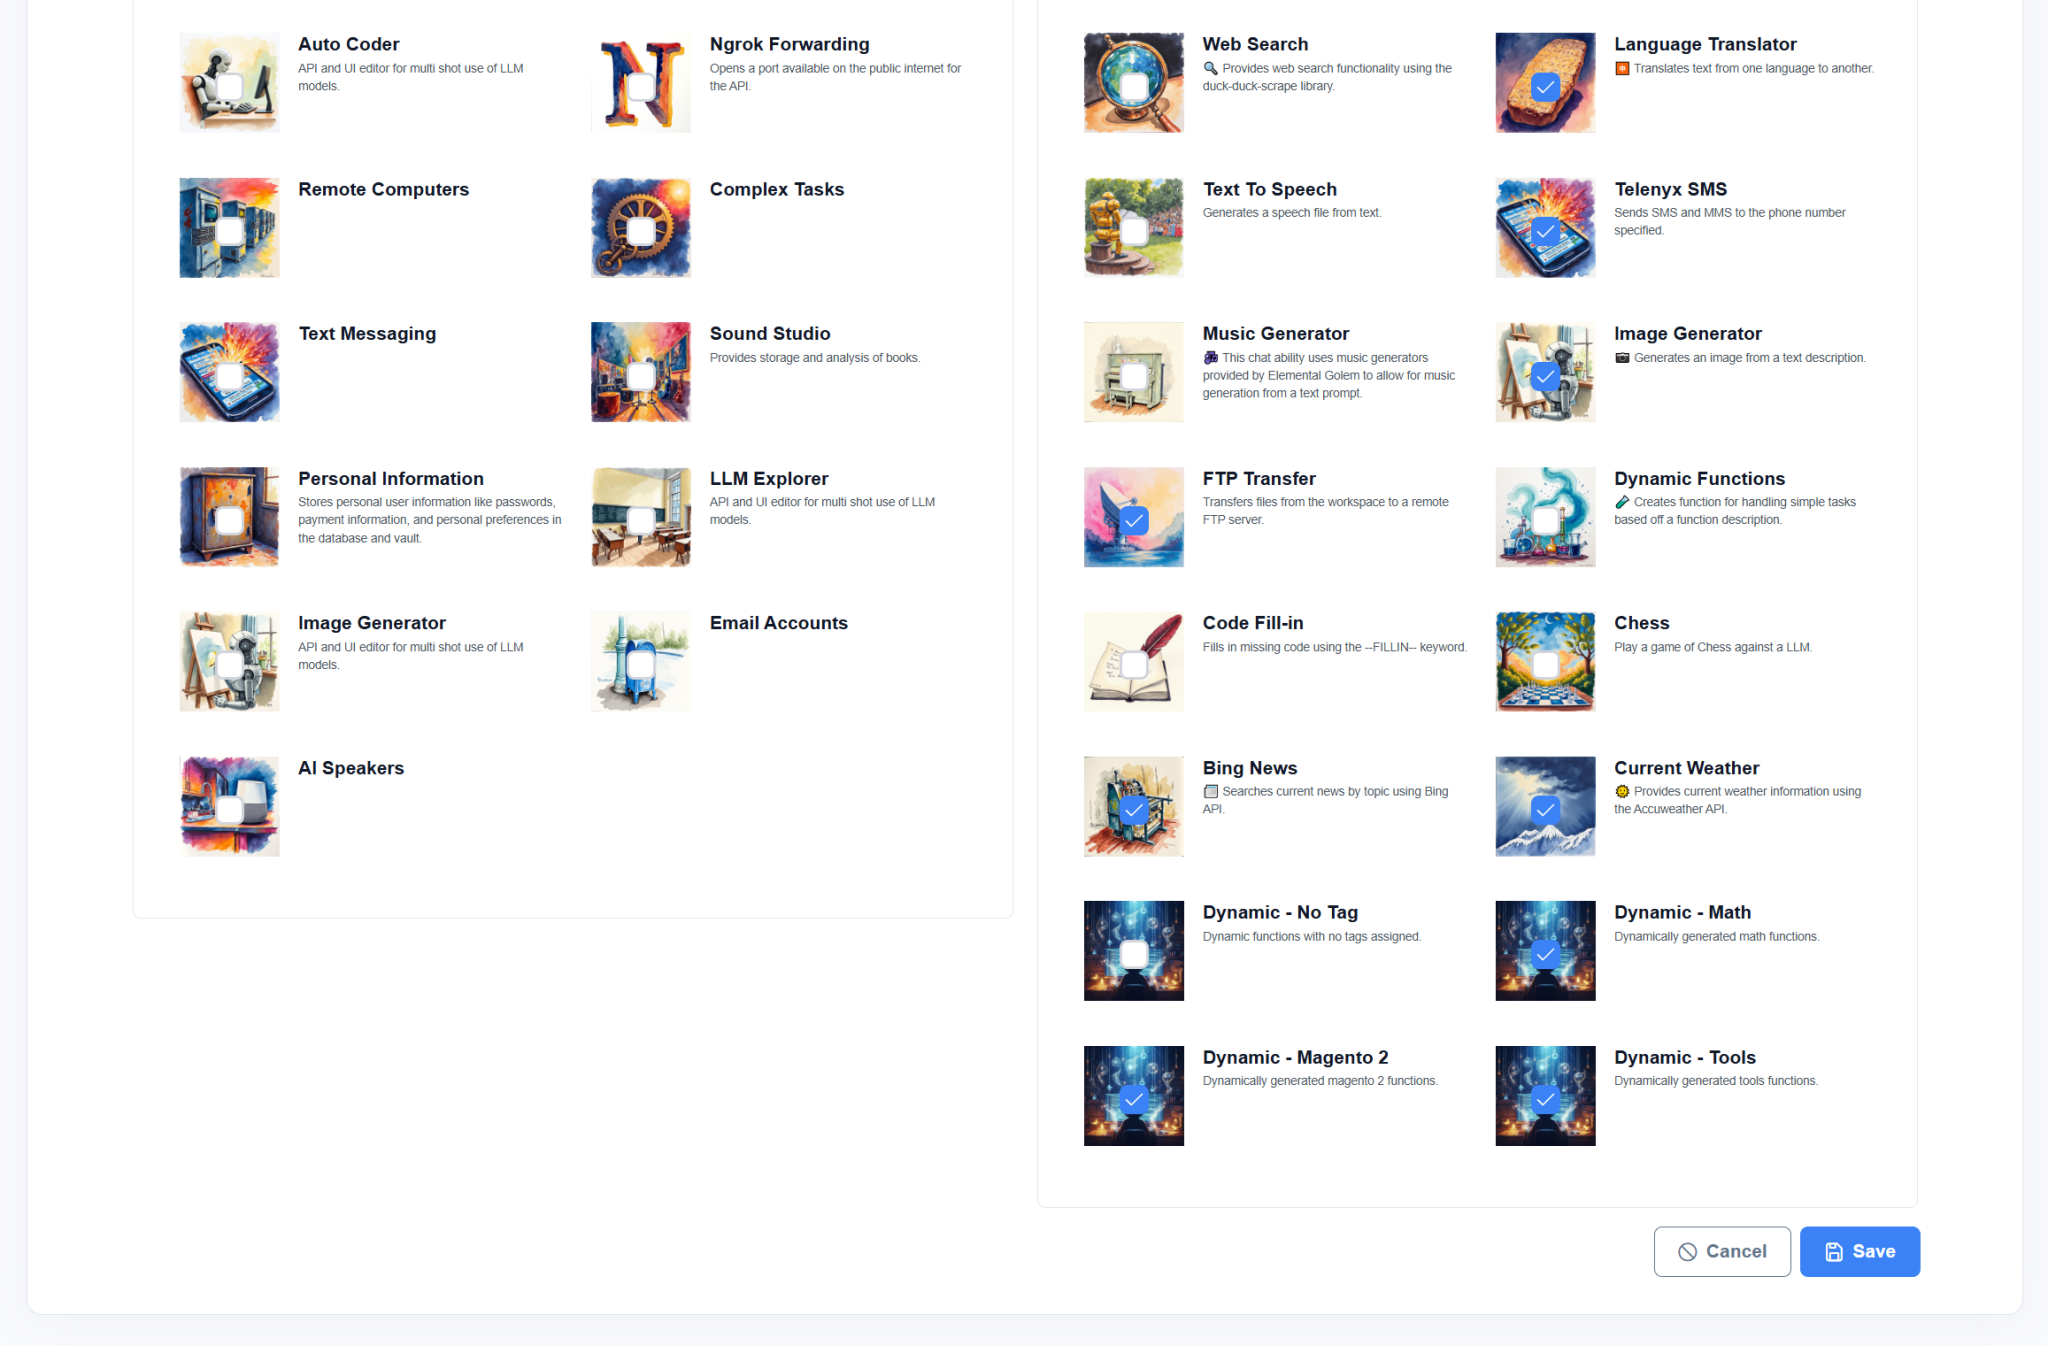
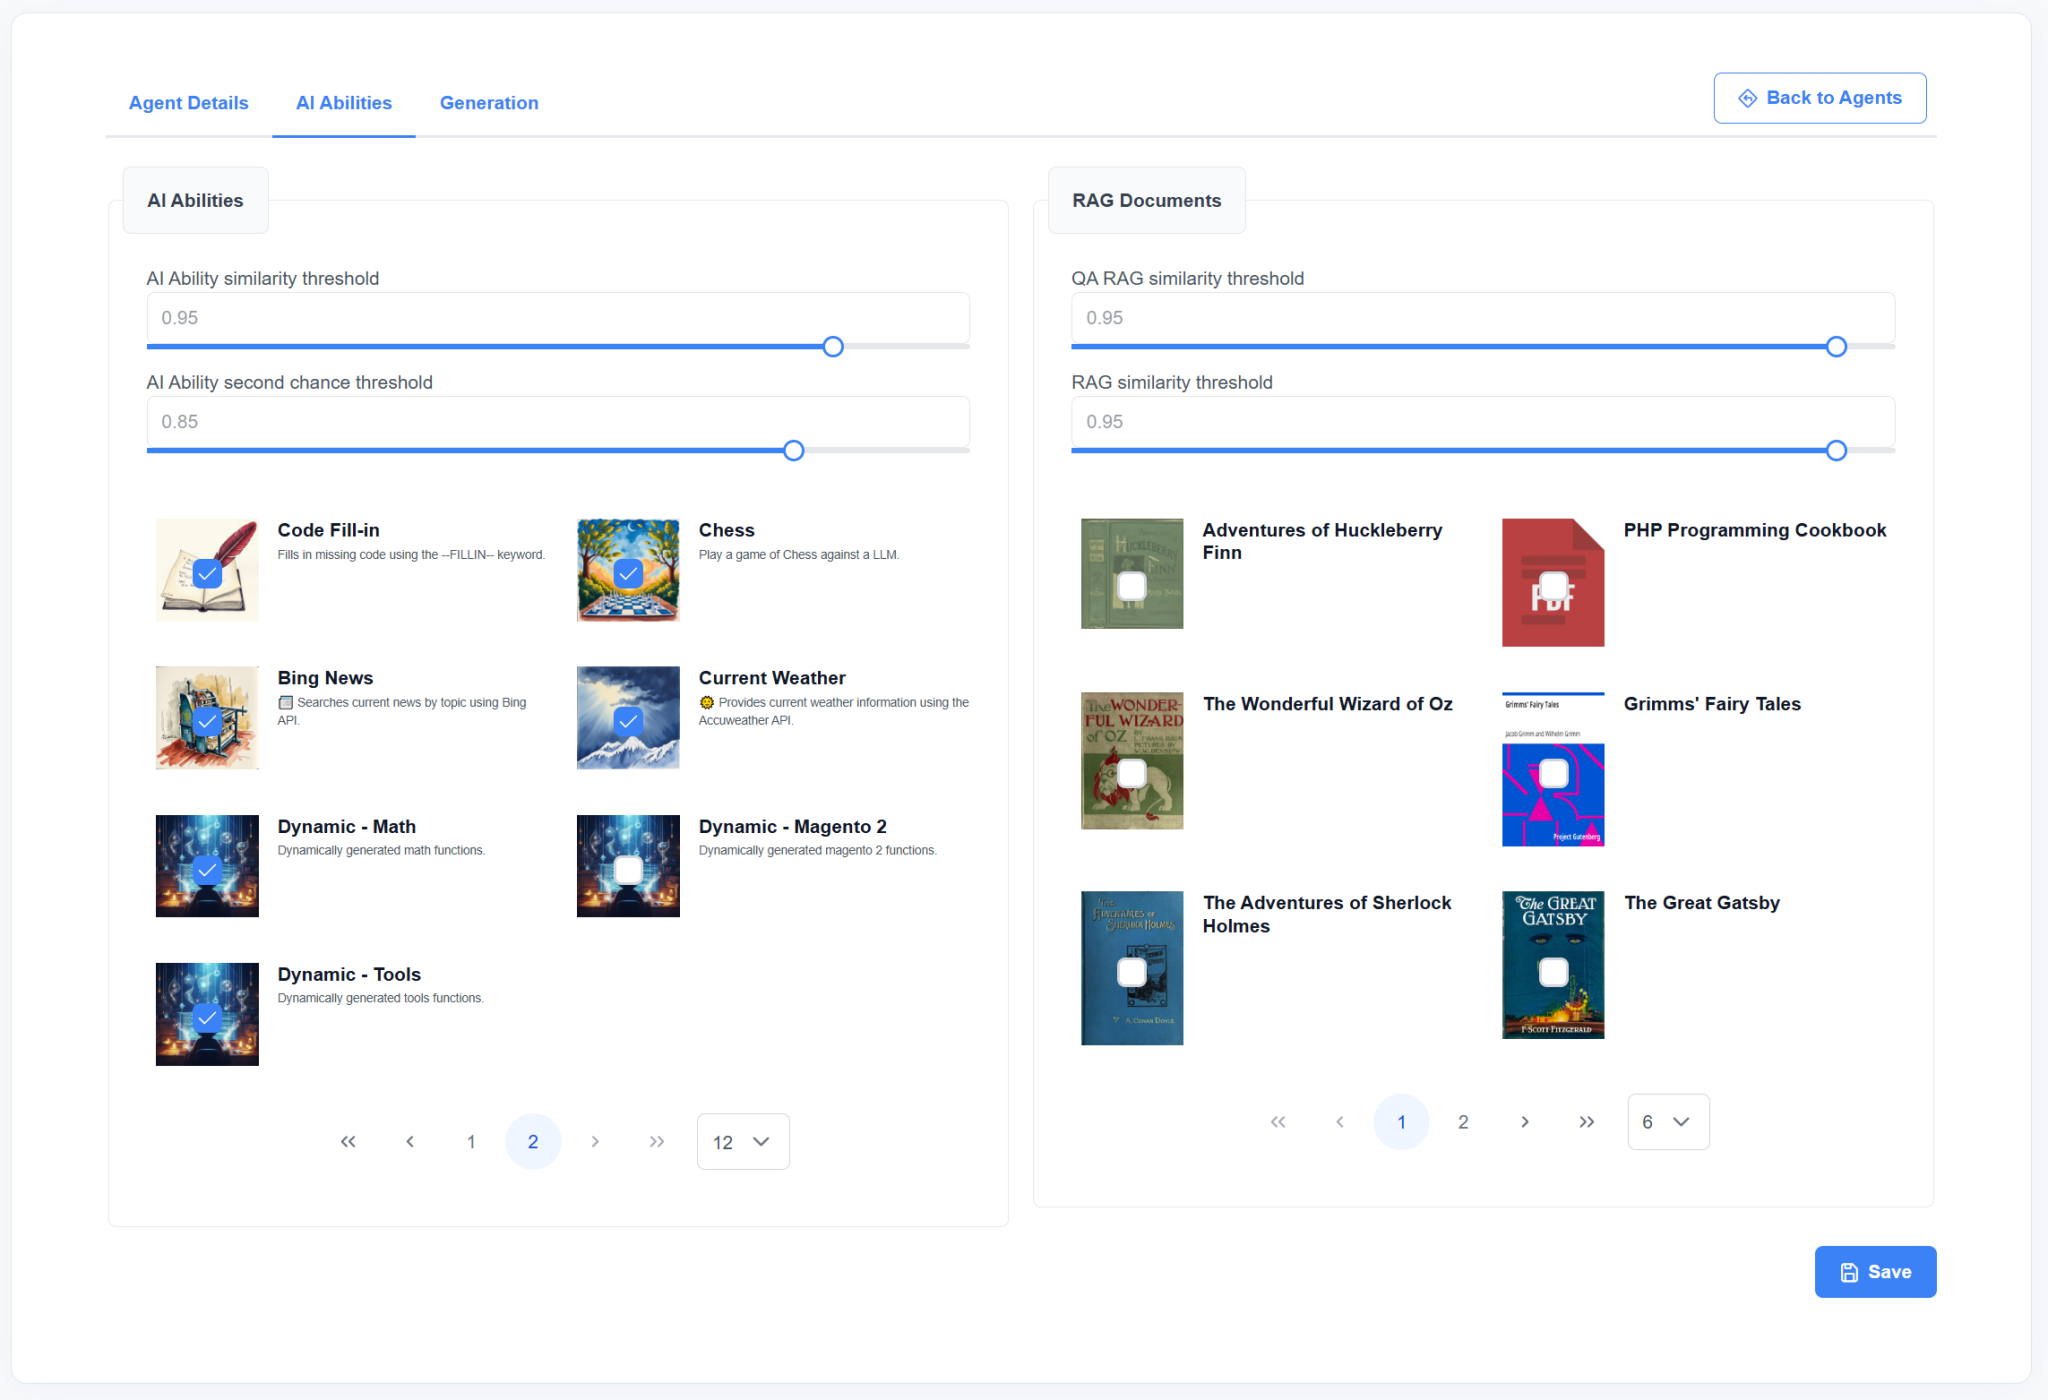
- Navigate to AI Agents -> Your Agent -> AI Abilities
- Find the new Dynamic – *TAG* AI ability.
- Grant access to the AI ability for the agent
- Press the Save button
Step 3: Enjoy!
You can now use the structured output dynamic ability in the chat UI. You can also associate an emoji shortcut with the new AI ability.